Bowl Cozy/Hot Pad FREE Crochet Pattern


This pattern is GREAT for holding your hot bowl of soup OR cold bowl of ice cream!! It can also go in the microwave while re-heating items in your bowl and the corners can be used for carrying. Be careful to NOT get your hot pad wet before putting it in the microwave. This can cause serious burns!!
Remember....I am a human and sometimes make mistakes!! If
you find an error with my pattern, please let me know in the comment section
and I will try to correct it as soon as possible!!!
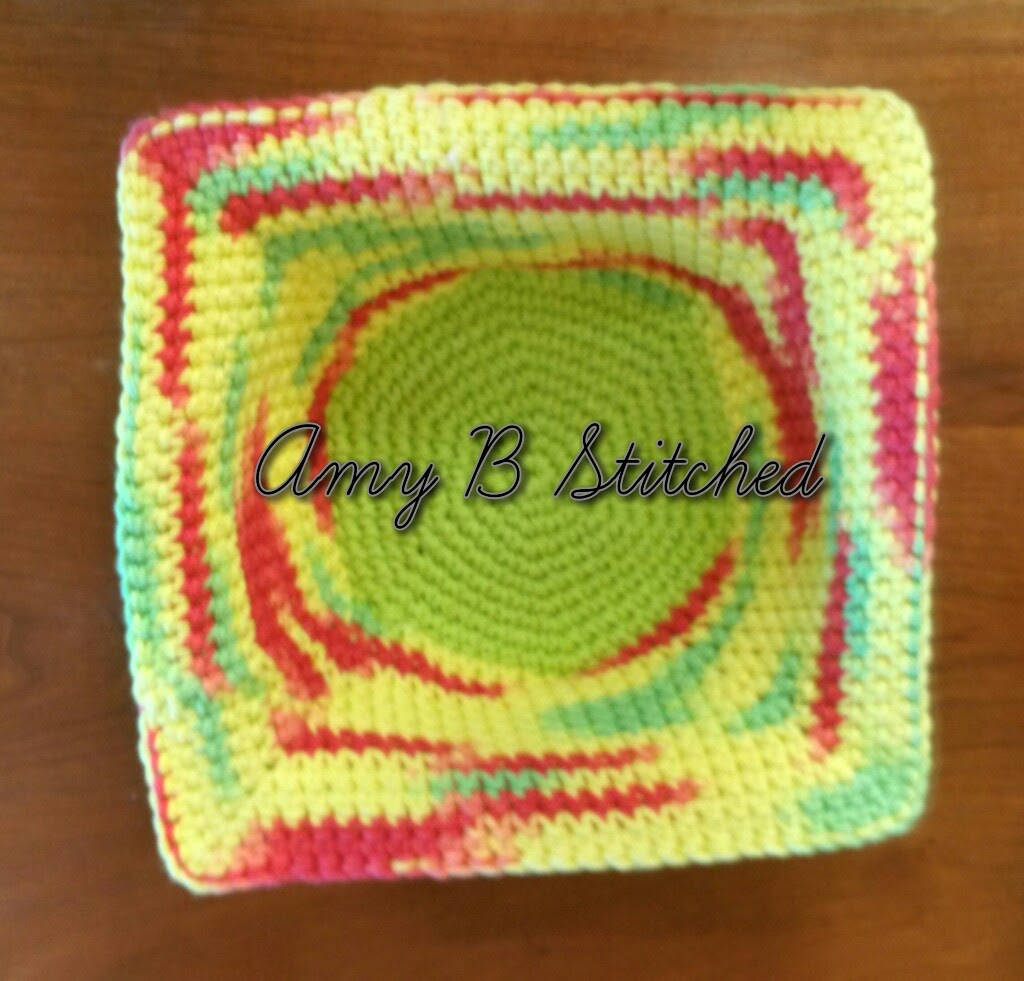
This is an Original Design by Amy B
Stitched. Feel free to make for profit, but remember to give credit to me, and
link back to my blog www.amysastitchatatime.blogspot.com
Thank You!!! Amy B
A lot of hard work goes into writing patterns. Please feel
free to share the link, but do not copy and distribute this pattern by any
other means.

If you like getting my FREE patterns and don't want to miss out on
any future ones, you can subscribe to my blog and have all of my new entries
delivered straight to your email inbox! Just type your email address into the
field on the right hand column under the heading "follow by email"
and click submit. Be sure to check your email (sometimes it will end up
in your junk/spam folder) and follow the verification steps for your
subscription to be complete!!
Blessings!!!
Amy B
Bowl Cozy/Hot Pad
Materials: size F (3.75 mm) crochet hook, Worsted Weight
(medium, 4) Cotton Yarn 120 yards (Peaches and Cream, Peace and Bright Chartreuse, used for sample) , Yarn
needle.
Size: fits a 6 inch bowl
·
Base: 5 inches, measured from increases across.
·
Finished Sides Height: 3 inches
·
Edges: 7 inches x 4 sides
Gauge: 4 sc = 1 inch,
5 sc rows = 1 inch
Stitches and Terms Used:
·
Ch – chain
·
Sc – single crochet
·
St(s) – stitch(es)
·
Sl st – slip stitch
* NOTE: This pattern is worked up tightly so that it holds shape around the bowl. Not all worsted weight cotton's are equal. Some work up much smaller, so be sure to check your gauge to ensure a proper fit.
BASE: make 2, DO NOT finish off after the 2nd one.
Rnd 1: Ch 2, 6 sc in 2nd ch from hook. DO NOT
JOIN. Place marker in last st and work in continuous rounds.
Rnd 2: 2 sc in each st around. (12)
Rnd 3: (sc next st, 2 sc next st) around. (18)
Rnd 4: (sc next 2 sts, 2 sc next st) around. (24)
Rnd 5: (sc next 3 sts, 2 sc next st) around. (30)
Rnd 6: (sc next 4 sts, 2 sc next st) around. (36)
Rnd 7: (sc next 5 sts, 2 sc next st) around. (42)
Rnd 8: (sc next 6 sts, 2 sc next st) around. (48)
Rnd 9: (sc next 7 sts, 2 sc next st) around. (54)
Rnd 10: (sc next 8 sts, 2 sc next st) around. (60) Finish
off first one (DO NOT sl st in next st to even out row). DO NOT finish off after Rnd 10 for 2nd
one.
JOIN BASES:
Holding wrong sides together, matching up increases and
working through both thicknesses. Don’t worry about the step from the last rnd
of the 1st Base, it will even itself out and be much easier to see the
stitches without a sl st in the way.
 |
| View of the bottom |
Rnd 11: Sl st in each st around. (60)
if you are doing two different colors, or just want a neater finish, you can finish off here and re-attach yarn for the next rnd. I just ch 1 and continue onto the next rnd if I am working in just one color.
if you are doing two different colors, or just want a neater finish, you can finish off here and re-attach yarn for the next rnd. I just ch 1 and continue onto the next rnd if I am working in just one color.
Rnd 12: Working only in the loops from rnd 10 of back piece this rnd only. Ch 1, sc in each st
around. Sl st in first st to join. (60)
Rnd 13: Ch 1, sc in each st around. Sl st in first st to join. (60)
Rnd 14: Ch 1, (sc next 14 sts, 3 sc next st) around. Sl st
in first st to join. (68)
Rnd 15: Ch 1, sc around. Sl st in first st to join. (68)
Rnd 16: Ch 1, sc next 15 sts, 3 sc next st. (Sc next 16 sts,
3 sc next st) 3 times. Sc last st. Sl st in first st to join. (76)
Rnd 17: Ch 1, sc around. Sl st in first st to join. (76)
Rnd 18: Ch 1, sc next16 sts, 3 sc next st. (Sc next 18 sts,
3 sc next st) 3 times. Sc last 2 sts. Sl st in first st to join. (84)
Rnd 19: Ch 1, sc around. Sl st in first sc to join. (84)
Rnd 20: Ch 1, sc next 17 sts, 3 sc next st. (Sc next 20 sts,
3 sc next st) 3 times. Sc last 3 sts. Sl st in first st to join. (92)
Rnd 21: Ch 1, sc next 18 sts, 3 sc next st. (Sc next 22 sts,
3 sc next st) 3 times. Sc last 4 sts. Sl st in first st to join. (100)
Rnd 22: Ch 1, sc next 19 sts, 3 sc next st. (Sc next 24 sts,
3 sc next st) 3 times. Sc last 5 sts. Sl
st in first st to join. (108)
Rnd 23: Ch 1, sc next 20 sts, 3 sc next st. (Sc next 26 sts,
3 sc next st) 3 times. Sc last 6 sts. Sl st in first st to join. (116)
Rnd 24: Sl st in each st around. Finish off and weave in all ends.

I don't understand round 12. How van you sc in loops of rnd 10 when in rnd 11 you sl st in the stitches of rnd 10.
ReplyDeleteBetty, I opted to use the back loops only of round 10 and it worked just fine. Not sure if that was her intention with the pattern instructions, but it works.
DeleteThe sl sts end up on the inside of the base facing u so the sts from round 10 on the base away from u are open to crochet into...if that makes any sense
Deletelove this pattern
ReplyDeletegreat pattern--buying bowls and making them for Christmas presents for the kids. thanks
ReplyDeleteWhy can't I print this pattern?
ReplyDeleteWould love to receive your wonderful patterns.My email is
Deletewedouglas19@gmail.com
I could not find anywhere to send my email Ireally hope that this works.Thank You
When you say do not copy your pattern, share the link, that is for others we might want to share the pattern with, correct? Because I always make a copy of a pattern to keep on my computer for when I get around to making the item. I'm not going to bring the directions up on the screen to follow each time I want to make something. That doesn't mean I'm going to try to share or sell your pattern, it just means I can't follow the directions for a pattern on the screen each time - at least not on this complicated a pattern. You do know that when we copy from this screen the color gets copied too, right? It is SO hard to read the pattern with the background color. Do you do that on purpose to discourage people from using your patterns? Just curious.
ReplyDeleteMy iPad browser has the little stack of lines in the left of the address bar. (Automatic Reader View) It will show you the page with no background.
Deletehttp://osxdaily.com/2019/03/28/enable-safari-reader-view-automatically-ios/
Thank you for sharing this pattern! I have been looking for a bowl cozy to crochet. I have sewn a few with cotton fabric, but I much prefer to crochet than sew. Love your work!
ReplyDeleteThank you for creating these bowl cozies! I just found them on Pinterest & look forward to following your Blog as well. These will make great Christmas gifts & a change from my dishcloths that the family expects...Many Thanks & blessings for pattern:-)
ReplyDeleteI could not find where I can submit my email. lindaholman@hotmail.com. I would love to get your patterns please!
ReplyDeleteIf anybody can help with this, I am new to crocheting so not real smart yet, do I start this out in a Magic circle, or ch 2 and put the 6 sc in the at.
ReplyDeleteMagic circle works better than ch. 2 in my opinion. I've been crocheting for over 40 yrs. Good luck!
DeleteNewbie crocheting, you ch2 and put the 6sc into the second chain from the hook.
ReplyDeleteThis comment has been removed by the author.
Deletehi love your crocheting look really nice i have been looking for a long time for one like yours
ReplyDeleteI’m going to try teaching some of my 6th graders how to make these. Could you email me the pattern so that it is easier to read and I can copy it for them please. Teresa
ReplyDeleteI think this is the best pattern on the net. Good Job. However, I could use some clarification.
ReplyDelete"Holding wrong sides together, matching up increases and working through both thicknesses."
If I do this, one increase will face "east" and the other "west" and for at least the first few starting/ending stitches, there will be "air" behind them. Am I supposed to force the sl st's or should the instructions say "place the outside of second round against the inside of the first round"? ie: both increases should be facing west/left.
I created the bottom circles with an invisible join at each row, everything lined up perfectly and I was able to place the 2 pieces wrong sides together, with no gaps.
DeleteDid you do an invisible join for every single row of both bases or just the last row, row 10, of each base?
DeleteHas anyone tried this with acrylic yarn? That's all I have on hand and I would hate to have to buy more as I have a color that would be a perfect gift for my mother
ReplyDeleteThis comment has been removed by the author.
DeleteI don’t think it’s safe to microwave acrylic yarn. It could melt.
ReplyDeleteAmy awesome job I am sure this is going to be a big hit, unfortunately I don't crochet, however I do knit. Is there any chance a pattern might evenutually come for us knitters?
ReplyDeleteA great time to try a new craft! I'm a knitter, too, but this great pattern has me looking for my husband's crochet hooks and looking at YouTube videos for instructions!
DeleteThanks for sharing your pattern. I look forward to making several.
ReplyDeleteThank you so much for this pattern.. I love the way it works out.
ReplyDeleteWhere can I find the download to print button? Thank you so much for designing providing the pattern to us for free!!
ReplyDeleteCan't wait to start this. Thanks.
ReplyDeleteIs the chain 1 stitch at the beginning of rows 13 thru 23 considered the first stitch of the next row. Am I supposed to “slip stitch in first stitch to join” into the chain 1 stitch? I can’t seem to get my “3 sc in next stitch” to align with previous rows.
ReplyDelete