Cross Stitch Soap Saver Pouch Crochet Pattern
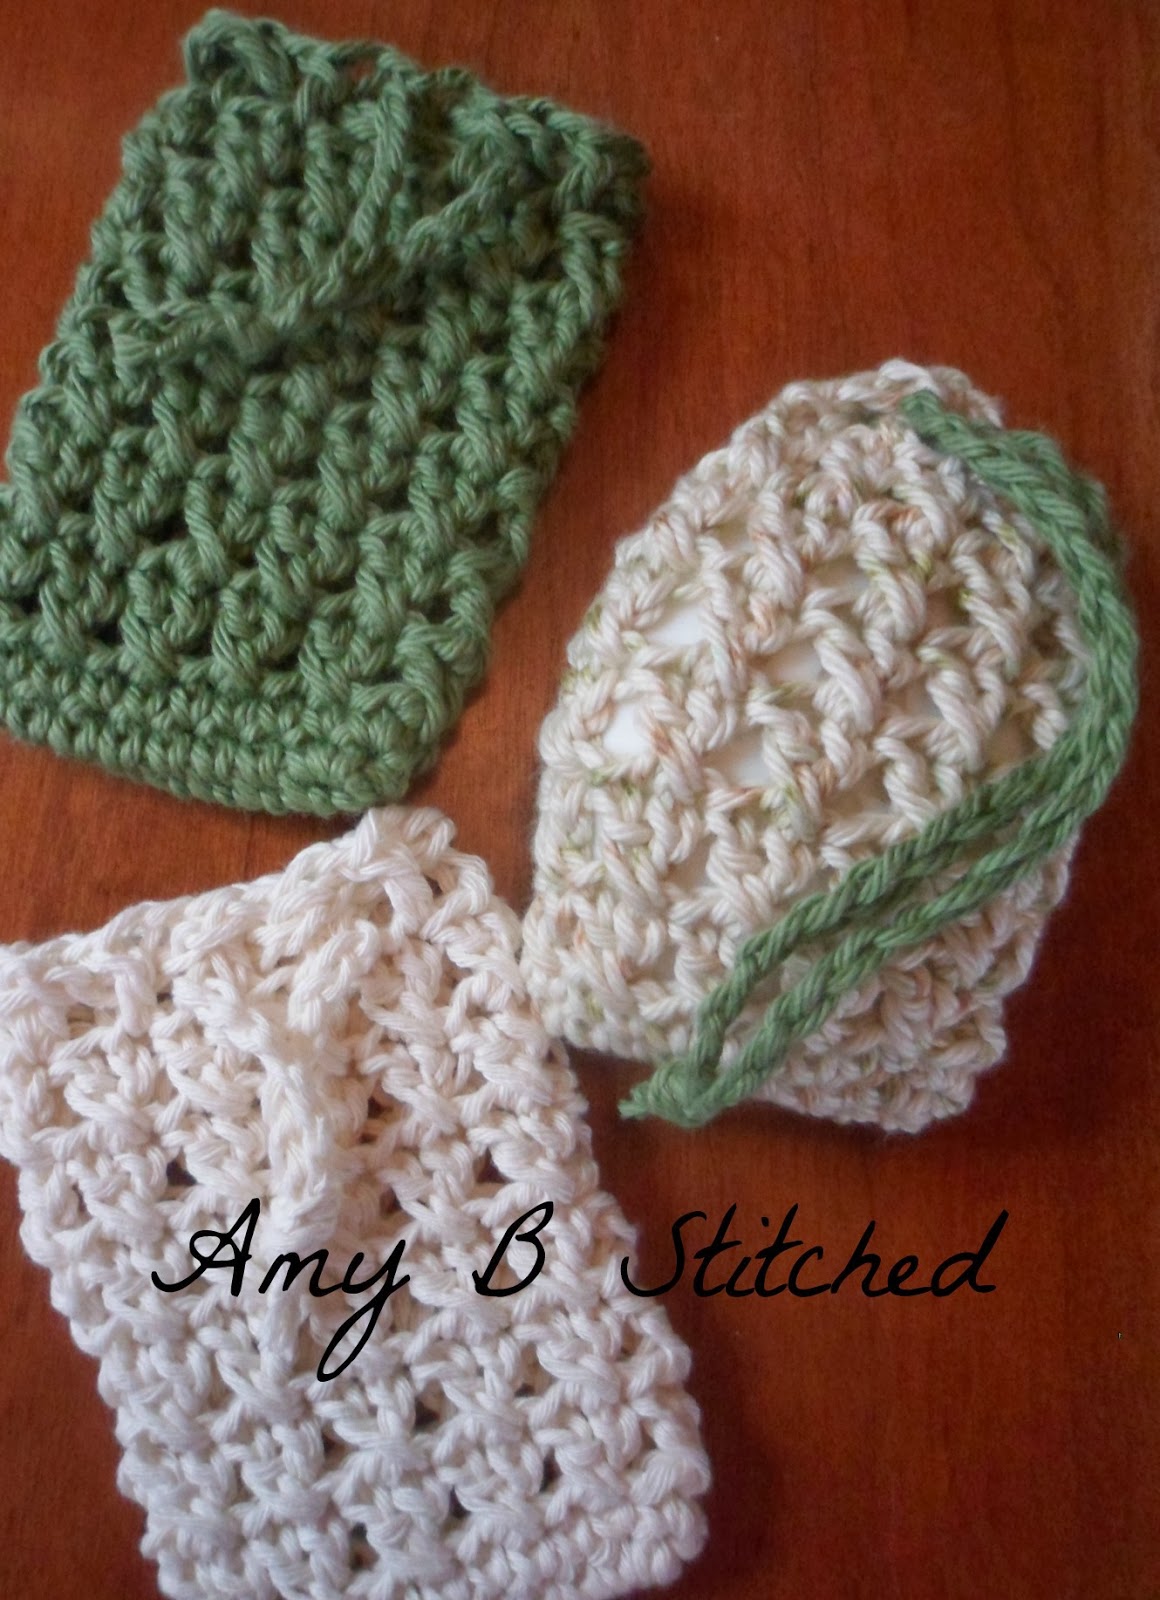
This sweet little soap saver pouch was designed because my hubby doesn't like to use soap once it gets to be what he considers "too small". He will go open a new box leaving the small pieces in the soap tray. The small pieces are still perfectly good....but really hard to hold on to. But I just can't seem to throw away the PERFECTLY GOOD but very small soap. So here is where I collect these small pieces and use them up to the last drop!!! This pouch is also big enough to accommodate a full size bar of soap.
***Feel free to make as many as you want for personal use or for profit...but please remember to give credit to me, Amy B Stitched, and link back to this page***
CROSS STITCH SOAP SAVER POUCH
***Feel free to make as many as you want for personal use or for profit...but please remember to give credit to me, Amy B Stitched, and link back to this page***
CROSS STITCH SOAP SAVER POUCH
Materials:
- approx 50 yards cotton yarn (I used "I love this Cotton" for samples)
- size G crochet hook
- finishing needle
Size: 4 1/4" x 3" finished size
Gauge: 4 dc or 2 dc rows = 2"
Stitches/Terms used:
Stitches/Terms used:
- ch = chain
- sc = single crochet
- sl st = slip stitch
- st (s) = stitch (es)
- dc = double crochet
Rnd 1: Ch 10, 2 sc in 2nd ch from hook, sc in next 7 ch, 3 sc in last ch. Working other side of ch, sc in next 8 ch, sl st in 1st sc to join. (20)
Rnd 2: Ch 1, 2 sc in first st. Sc in next 9 sts, 2 sc in next sc, sc in next 9 sts. Sl st in first sc to join. (22)
Rnds 3-8: Ch 2 (does not count as st), sk first st (same as join), dc in next st, dc in skipped st, * sk next st, dc next st (see view 1), dc in skipped st (see view 2). Repeat from * around. Sl st in first dc to join.
Rnd 9: Ch 4, *sk next st, dc next st, ch 1. Repeat from * around. Sl st in 3rd ch of beg ch 4 to join. Finish off.
 |
| View 1 |
 |
| View 2 |
TIE: Leaving a 3" tail for beginning and end, Ch 50. Thread tie through soap saver pouch according to pictures below. Tie the ends of the Tie with an overhand knot and clip the tails to 1/4".

Be Blessed!!
Amy B
 |
| Thread the tail onto a finishing needle and weave the Tie in and out of the last row of stitches. |
 |
| Over lap the weaving so that the bag cinches shut. |
Be Blessed!!
Amy B


Amy, this is fantastic!! I love a good practical crochet project, and this certainly fills the bill. I've bookmarked your blog post so I can find it easily when I want to make this project for gifts, etc. Nice work!
ReplyDeleteThanks Mary!!! I love practical too.
DeleteVery nice! Great descriptions! And thank you for sharing freely your God-given talents for His glory!
ReplyDeleteThank you so much!!! It's my pleasure to share!!
DeleteGlad I am not the only one who thinks that! lol... It is a really sweet design. Love the colours you used for these too.
ReplyDeleteThanks Rebeckah!! I really like the soft natural colors
Delete