Meandering Paw Prints Chevron Afghan FREE Crochet Pattern


If you like
getting my FREE patterns and don't want to miss out on any future ones, you can
subscribe to my blog and have all of my new entries delivered straight to your
email inbox! Just type your email address into the field on the right hand
column under the heading "follow by email" and click submit. Be
sure to check your email (sometimes it will end up in your junk/spam folder) and
follow the verification steps for your subscription to be complete!!
Blessings!!!
Amy B
Meandering Paw Prints Chevron Afghan
Click HERE for the Small Template Project Planning Sheet
Click HERE for the Small png Template
Click HERE for the Medium Template Project Planning Sheet
Click HERE for the Medium png Template
Click HERE for the Large Template Project Planning Sheet
Click HERE for the Large png Template
SIZE: Small 37 inches x 45 inches, Medium 54” x 70”, Large 72” x 86”
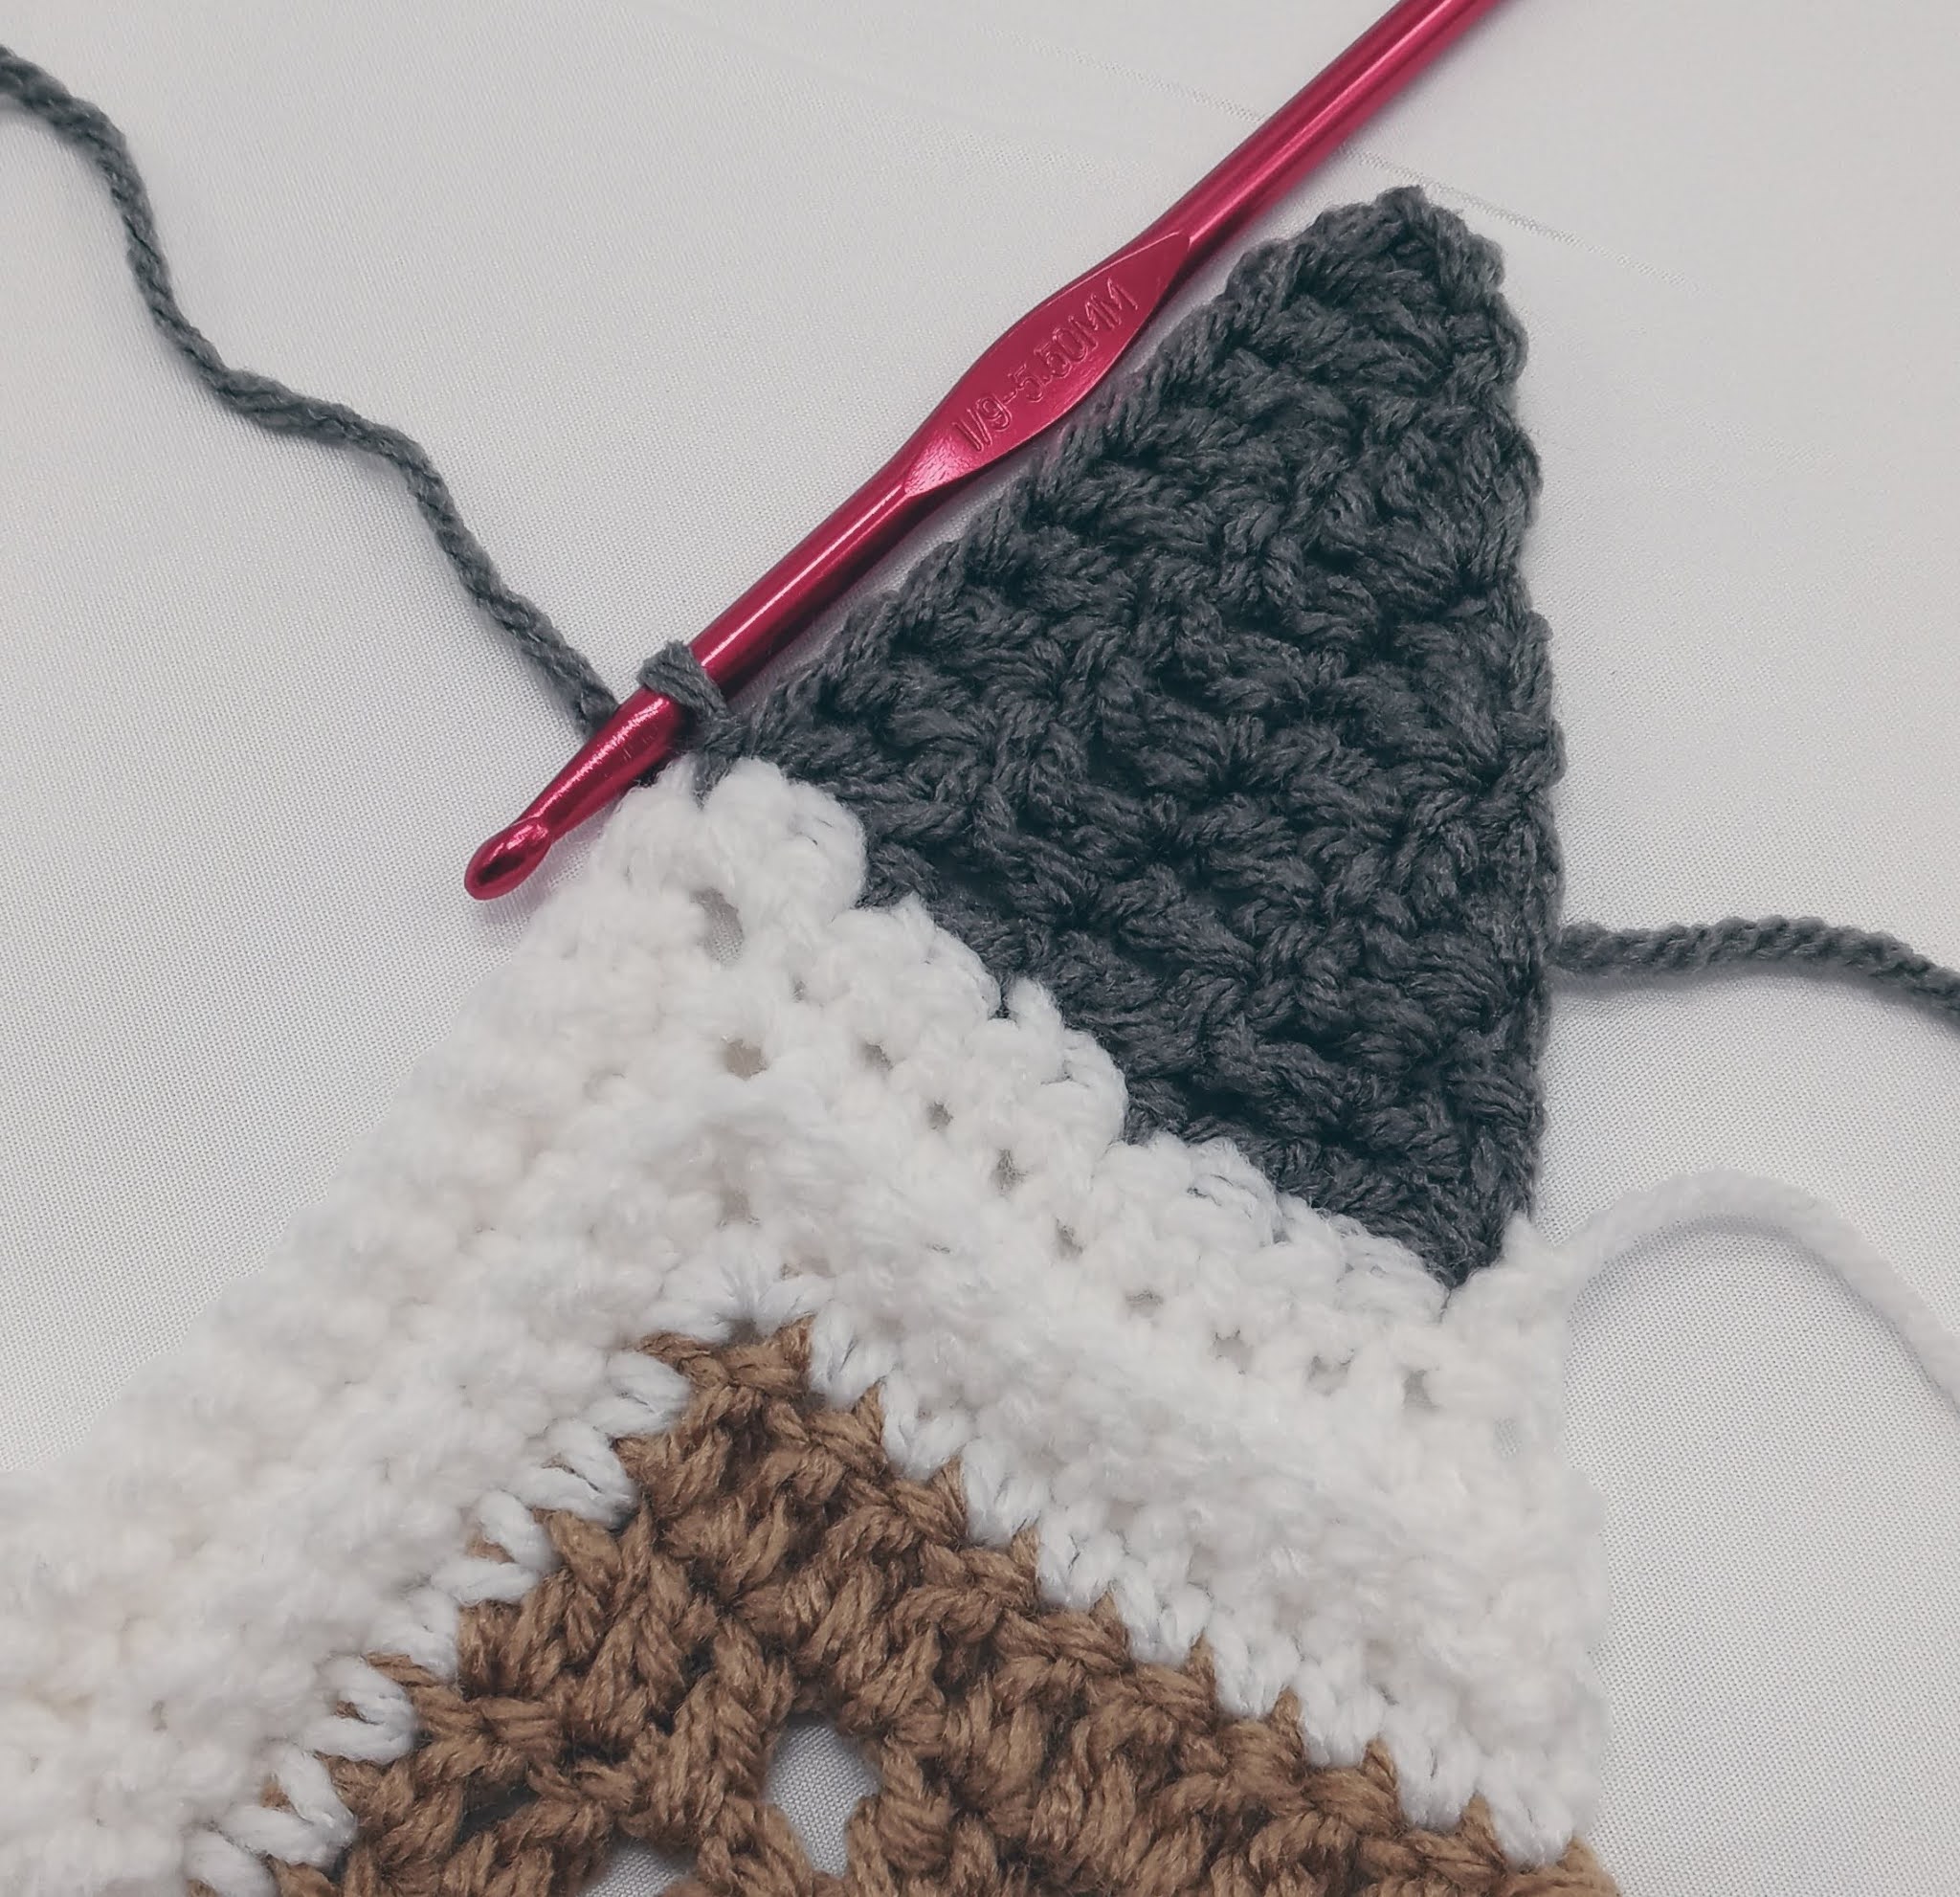
MATERIALS: Size I/9/5.50mm crochet hook, yarn needle,
worsted weight/medium/size 4 yarn for SMALL shown in pictures Color A (CA) tan
500 yards, Color B (CB) White 489 yards, Color C (CC) grey 521 yards. See
Template Planning Sheet for small, medium and large to create your own color
pattern.
GAUGE: 7 sc = 2 inches, FOUNDATION ROW SQUARE = 3 ¼
inches x 3 ½ inches
STITCHES & TERMS USED
Fdc – Foundation Double Crochet (see note 4)
RS – Right Side
Dc – Double Crochet
St(s) – Stitch(es)
Ch – Chain
Dc-cl – Double Crochet Cluster (see note 5)
WS – Wrong Side
Sk – Skip
Sc – Single Crochet
Sp – Space
Slst – Slip Stitch
Sc-dec – Single Crochet Decrease
BLO – Back Loops Only
Notes:
1)
When working down the side of the block, 2 sts
are worked in the end of each dc row.
2)
Ch 2 at the beginning of the row DOES NOT count
as a stitch, unless otherwise indicated. Your first stitch will be placed in
the joining stitch that the ch 2 comes from. If you read (counts as a st)
right after a Ch 2, that means your next stitch will NOT go into the stitch
that the ch 2 comes from.
3)
To help keep track of your stitches, the row
stitch counts are in parenthesis at the end of each row. Chains are counted as
individual stitches, except where you are instructed to “2 sc in ch 4 sp” then
the entire ch sp is counted as one and you will work into the next stitch
following the ch 4 sp.
4)
FOUNDATION DOUBLE CROCHET: Ch 2, YO, insert hook
in 2nd ch from hook, YO, pull up a loop (3 loops on hook), YO and
draw through 1 loop (1 ch made), [YO and draw through 2 loops ] 2 times. (First
FDC completed). *YO, insert hook under 2 loops of ch at bottom of st just made,
YO and pull up a loop (3 loops on hook), YO and draw through 1 loop (1 ch
made), [YO and draw through 2 loops] 2 times. Repeat from * until desired
number of FDC completed.
5)
Dc-cl: YO, insert hook into st, YO, draw up a
loop, YO, draw through 2 loops. YO, insert hook into same st, YO, draw up a
loop, YO, draw through 2 loops, YO, draw through last 3 loops.
6)
Dc in last sk st:
Insert the hook into the skipped stitch indicated and continue with your dc in
the same manner as the other dc. This binds the two sts together into a cross
stitch.
7)
STANDING DOUBLE CROCHET: I have a YouTube video
tutorial for this stitch. https://youtu.be/_RV9f9qvvgA
FOUNDATION ROW SQUARE: You will do this row only
once, repeating rows 1-5 until your desired width is reached. When you complete
all of the rows of your blanket you will return to this end to do a row of
chevrons and a row of half squares, so be sure to place a stitch marker on the
corner of the very first foundation square that you make (the one with the
beginning tail) so that you will know where to attach your yarn when you come
back to the beginning to do one final chevron row to finish off the body of the
blanket.

Row 3: Ch 2, turn. Dc in first 2 sts, ch 1, sk 1, dc next
st, 2 sc in ch 4 sp, dc next st, ch 1, sk 1, dc next st, dc-cl in last st.
Row 4: Ch 2, turn. Dc first 3 sts, ch 1, sk 2, dc in next
st, dc in last sk st (SEE NOTE 6), ch 1, sk 1, dc in next 2 sts, dc-cl in last
st.
Row 5: Ch 2, turn. Dc
in first 9 sts, dc-cl in last st. DO NOT FINISH OFF. Place Stitch Marker on the
corner with the beginning tail of the first Foundation Row Square. Repeat rows
1-5 until you have (small 8/ medium 12/ large 16) squares. Finish off CA after last square.

CHEVRON ROW STARTED LOW (in the valley): For your very first chevron row be sure to check each FOUNDATION ROW SQUARE to make sure it is not twisted before crocheting into it.

Row 1: With CB, join with a slst on WS of last st made. Ch 1, sc in 9 sts, *3 sc in next st (at the peak)**. Working down the side of the square sc 8 evenly spaced (see NOTE 1), Sc-dec in last sp of current block and first st of next block. Sc in next 8 sts. Repeat from * across ending at ** on the last square. Sc in last 9 sts.
Rows 2-4: Working in BLO for these rows. Ch 1, turn. Sc-dec over 2 sts, sc in next 8 sts, *3 sc next st, sc in next 8 sts, ** sc-dec over next 3 sts, sc in next 8 sts. Repeat from * across ending at ** on top of the last square. Sc-dec over last 2 sts. Repeat instructions for rows 3 and 4. At end of row 4 finish off CB.

FIRST HALF SQUARE OF THE ROW: This row you will begin making squares that are crocheted directly onto the chevron row. You will begin crocheting in the last stitch of the previous row and crochet across following the instructions below. At the end of each odd row of the square you will be asked to skip sc and sl st into the next sc. After slst-ing, you will be told to “turn”. Make sure you turn the same direction each time.

Row 2: Ch 1, sk next sc, sl st in next sc, turn. Dc in first 2 sts, 3 dc in last st.


NEXT FULL SQUARE

Row 2: Ch 1, sk 1 sc, sl st next sc, turn. Dc in next 4 sts,
ch 4, sk 2 sts, dc in next 3 sts, dc-cl in last st.
Row 3: Ch 2, turn. Dc in first 2 sts, ch 1, sk 1 st, dc in
next st, 2 sc in ch 4 sp, dc in next st, ch 1, sk 1 st, , dc in next 2 sts. Sk
1 sc, sl st in next sc.
Row 4: Ch 1, sk 1 sc, sl st next sc, turn. Dc in next 3 sts,
ch 1, sk 2 sts, dc in next st, dc in last sk st, ch 1, sk 1 st, dc in next 2
sts, dc-cl in last st.
Row 5: Ch 2, turn. Dc in first st and in each remaining st
across (10 dc). Sk 1 sc, sl st in next sc.
Repeat rows 1-5 of “NEXT FULL SQUARE” until you have (7, 11,
15) full squares on this row. Do NOT finish off, move on to “LAST HALF SQUARE”.
LAST HALF SQUARE
Row 1: Ch 2, dc in same st as last slst, dc in next 7 sts,
dc-dec over next 3 sts.
Row 2: Ch 2, turn. Dc-dec over 3 sts, dc in next 5 sts,
dc-cl in last st.
Row 3: Ch 2, turn. Dc in next 4 sts, dc-dec over 3 sts.
Row 4: Ch 2, turn. Dc-dec over 3 sts, dc in next st, dc-cl
in last st.
Row 5: Ch 2, turn. Dc-dec over 3 sts. Finish off CC.

CHEVRON ROW STARTED HIGH (at the peak)

With CA, join yarn in last st of
previous row
Row 1: Ch 1, turn. 2 sc in first st, sc 8 sts evenly down
the side of the block * sc-dec in last sp of first block and first st of next
block. Sc in next 8 sts, ** sc 3 in next st. Sc 8 sts evenly down the side of
the block. Repeat from * across ending at **.
2 sc in top of ch 3 turning chain (this t-ch is from row 5 of the “FIRST
HALF SQUARE OF THE ROW”).
Rows 2-4: Working in BLO for these rows. Ch 1, turn. 2 sc in first st. *Sc in next 8 sts, sc-dec over 3 sts, sc in next 8 sts **, 3 sc in next st. Repeat from * across ending at **. 2 sc in last st. At the end of row 4 finish off CA.

With CB, join yarn in last st of previous row, turn.
Row 1: Ch 2. Dc in first st. Dc in next 9 sts. Sk 2 sc, sl
st in next sc.
Row 2: Ch 1, sk 1 sc, sl st next sc, turn. Dc in next 4 sts,
ch 4, sk 2 sts, dc in next 3 sts, dc-cl in last st.
Row 3: Ch 2, turn. Dc in first 2 sts, ch 1, sk 1 st, dc in
next st, 2 sc in ch 4 sp, dc in next st, ch 1, sk 1 st, dc in next 2 sts. Sk 1
sc, sl st in next sc.
Row 4: Ch 1, sk 1 sc, sl st next sc, turn. Dc in next 3 sts,
ch 1, sk 2 sts, dc in next st, dc in last sk st, ch 1, sk 1 st, dc in next 2
sts, dc-cl in last st.
Row 5: Ch 2, turn. Dc in each st across. Sk 1 sc, sl st in
next sc.
Repeat Rows 1-5 until you have (small 8/ medium 12/ large
16) squares on this row. At the end of
the FULL SQUARE ROW, finish off CB.
SMALL SIZE: Repeat from CHEVRON ROW STARTED LOW
through FULL SQUARE ROW following your set color changes until you have a total
of 11 rows of squares and 11 rows of chevrons. You will end with a section of
CHEVRON STARTED LOW. After the final chevron row you will go to FIRST QUARTER
SQUARE next.
MEDIUM SIZE: Repeat CHEVRON ROW STARTED LOW through
FULL SQUARE ROW following your set color changes until you have a total of 17
rows of squares and 17 rows of chevrons. You will end with a section of CHEVRON
ROW STARTED LOW. After the final chevron row you will go to FIRST QUARTER
SQUARE next.
LARGE SIZE: Repeat CHEVRON STARTED LOW through FULL
SQUARE ROW following your set color changes until you have a total of 21 rows
of squares and 21 rows of chevrons. You will end with a section of CHEVRON ROW
STARTED LOW. After the final chevron row, you will go to FIRST QUARTER SQUARE
next.
FIRST QUARTER SQUARE
Row 1: With the next color in your color changes, join yarn
with a standing dc in the last st of previous row. Work 2 more dc in first st,
sk 1 sc, sl st in next st.
Row 2: Ch 1, sk 1 sc, sl st in next sc, turn. Dc in next 2 sts, 3 dc in last st.
Row 3: Ch 2, turn. 2 dc in first st, dc in next 4 sts, sk
next st, sl st in next sc.
Row 4: Ch 1, sk 1 sc, sl st to next sc, turn. Dc in next st, hdc next st, sc next st, sl st in next st. Leave last 2 sts unworked.

HALF SQUARE
Row 1: Ch 2 (counts as a st SEE NOTE 2), dc-dec over
next 2 sts, dc in next 7 sts, sk 2 sts, sl st in next sc.
Row 2: Ch 1, sk next sc, sl st in next sc, turn. Dc in next
5 sts, dc-dec over 3 sts.

Row 4: Ch 1, sk 1 sc, sl st in next sc, turn. Dc next st,
Dc-dec over 3.
Row 5: Ch 2 (counts as a st), turn. Dc in next st, sk next
sc, sl st in next sc.

Repeat rows 1-5 until you have all HALF SQUARES complete (7, 11, 15) and then move on to your LAST QUARTER SQUARE.
LAST QUARTER SQUARE Ch 2 at the beginning of each row
counts as a st.
Row 1: Ch2, dc-dec over 2, dc in next 5 sts, dc-dec over 3.
Row 2: Ch 2, turn. Dc-dec over 2, dc in next st, dc-dec over
3.
Row 3: Ch 2, turn. Dc-dec over 2. Finish off.

After you finish the LAST QUARTER SQUARE, turn the blanket and join your yarn where you placed the stitch marker on your very first FOUNDATION SQUARE in your designated color (NOTE see placement sheet for START. This is the row where you placed your stitch marker in the very first corner with the tail. This is where you join the yarn).
One more CHEVRON ROW STARTED LOW (instructions below for convenience)

Row 1: Ch 1, sc in 9 sts, *3 sc in last st**. Working down
the side of the square sc 8 evenly spaced( see NOTE 1), Sc-dec in last sp of
current block and first st of next block. Sc in next 8 sts. Repeat from *
across ending at ** on the last square. Sc in last 9 sts.
Rows 2-4: Working in BLO for these rows. Ch 1, turn. Sc-dec over 2 sts, sc in next 8 sts, *3 sc next st, sc in next 8 sts, ** sc-dec over next 3 sts, sc in next 8 sts. Repeat from * across ending at ** on top of the last square. Sc-dec over last 2 sts. Repeat instructions for rows 3 and 4. At end of row 4 finish off.
Now repeat FIRST QUARTER SQUARE, HALF SQUARES across, and
LAST QUARTER SQUARE. After you finish
that, move on to the edging.
EDGING
Join yarn in any st around.
Row 1: Ch 1, sc evenly around, working 3 sc in each corner
st. Join with a sl st in first sc.
Row 2: Ch 1, hdc in each st around, working 3 hdc in each
corner st. Join with a sl st in first hdc.
Repeat rows 1 and 2 once more. Finish off and weave in ends.


Comments
Post a Comment